Starting with the grid
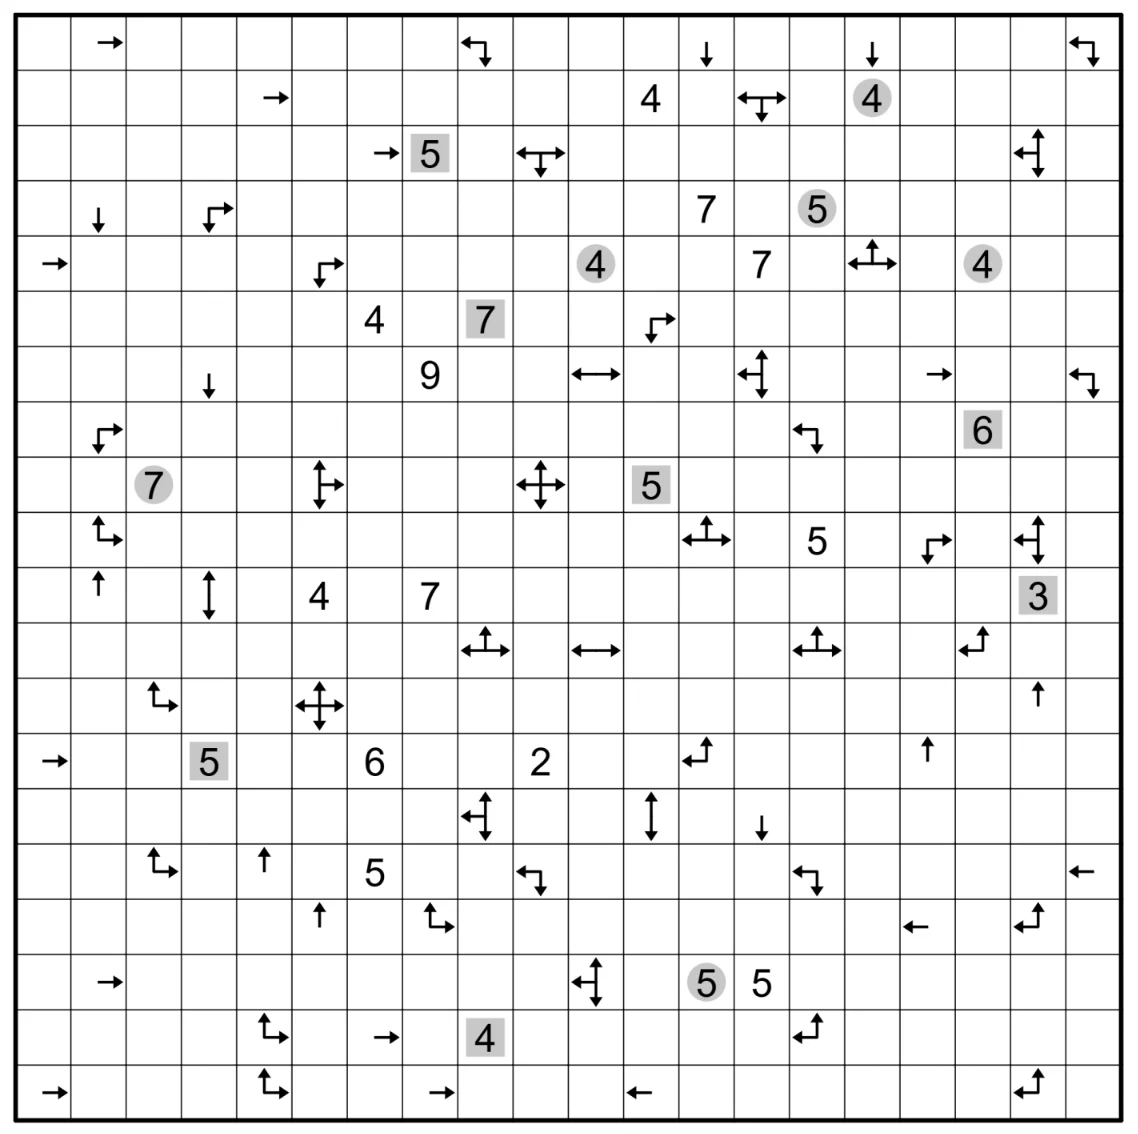
This puzzle was relatively straightforward, and we can start verifying whether certain cells in the grid are a part of the box using the arrows provided.
Using the arrows
Let denote the set of cells belonging to the box. Arrow cells are guaranteed to lie outside , and their arrows encode the direction(s) of the nearest box cell(s). For an arrow cell , define the directional distance as the distance from to the nearest box cell lying in direction . The arrow at points in direction when achieves the smallest directional distance. In other words, the box is closer in the pointing directions than in any other direction. When the arrow points in multiple directions, those directions are all tied: the box is equally close in each of them.
This gives us an elimination rule. Let be the set of directions the arrow points to, and the non-pointing directions. The box is strictly farther away in every non-pointing direction than in any pointing direction. Since itself is not in the box, the nearest box cell in any pointing direction is at least step away, which means the nearest box cell in any non-pointing direction is at least steps away, indicating that the immediate neighbours of in a non-pointing direction are excluded from .
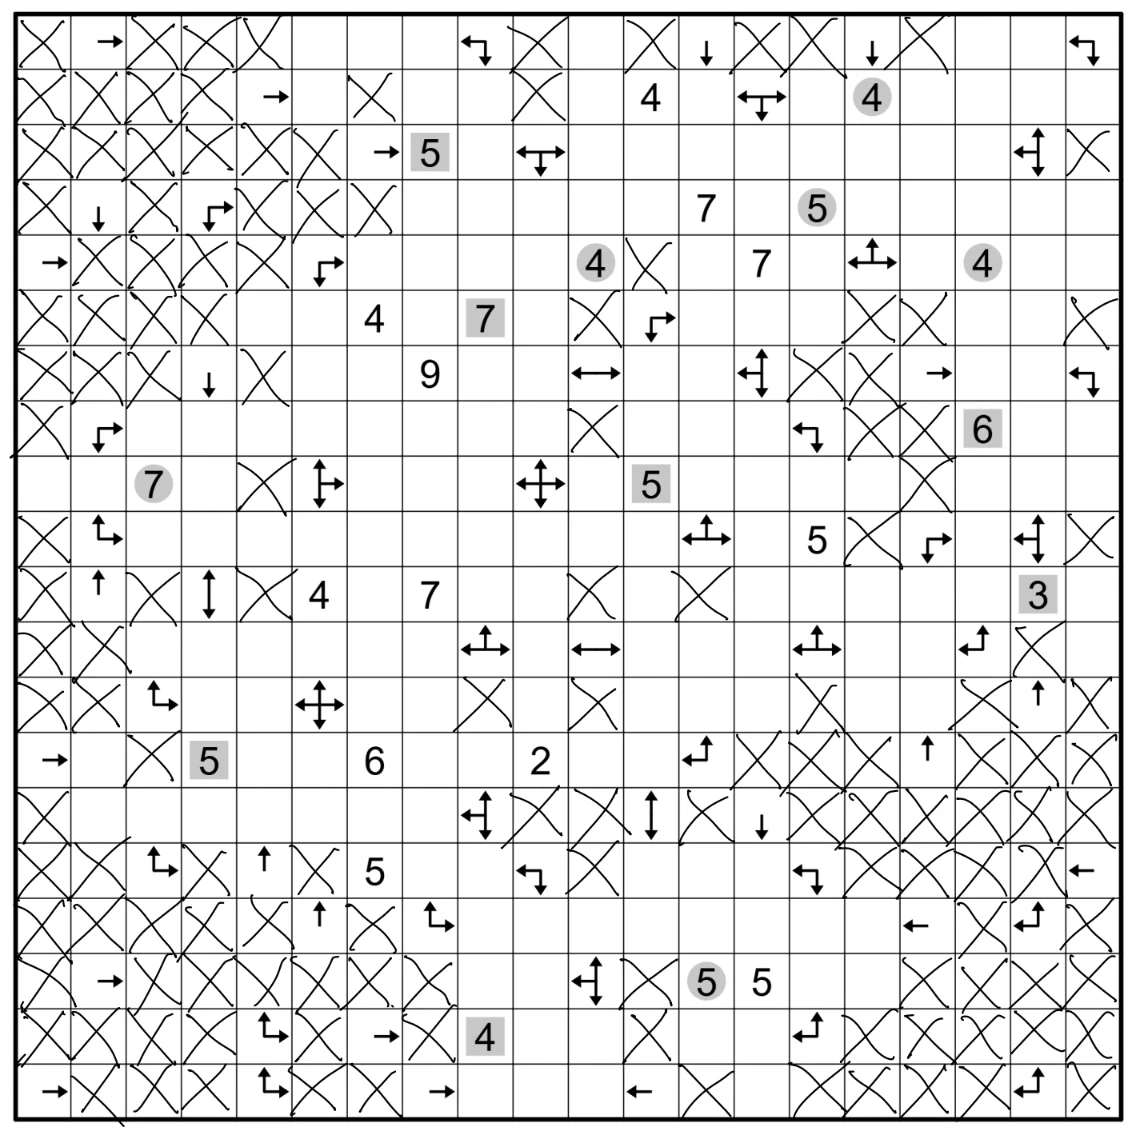
Once we have leveraged the existing rules to exclude as many cells as possible, we can use the numbers on the grid along with arrows pointing to them to mark certain cells as part of the box. For example, the arrow cell in the bottom right points both north and west, and the nearest box cell in the north is 9 cells away, hence the nearest box cell in the west must also be 9 cells away.
Finding the box cells
Numbers also indicate how many Chebyshev-adjacent cells are part of the box, and it is also stated that there are no holes in the connected area on the grid. From this, we can deduce that an arrow cell pointing in all four directions must have for every . If the box were only step away in some direction, then the box would wrap around and create a hole in the box cells.
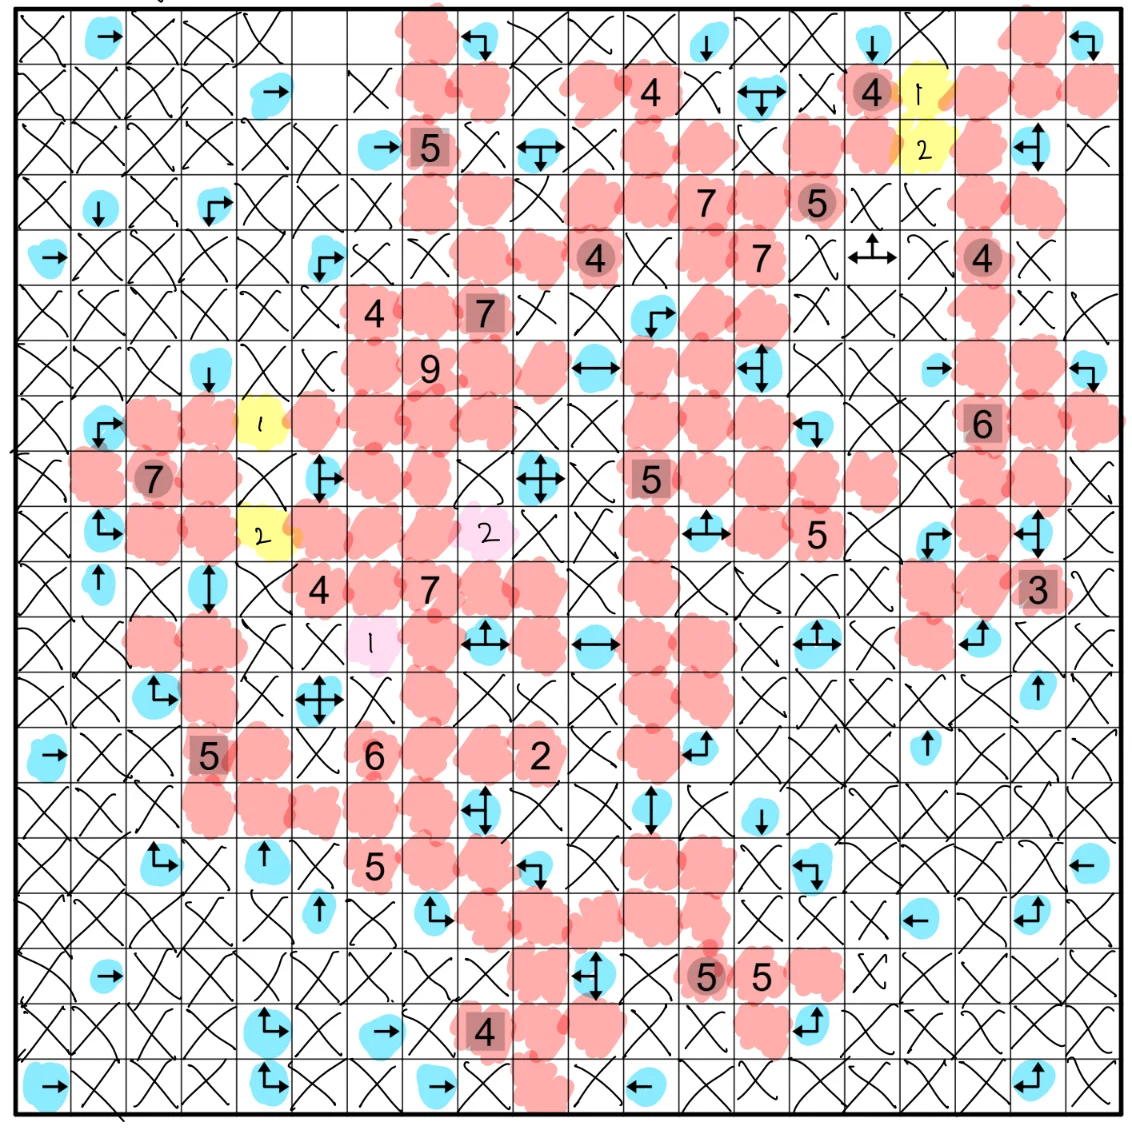
From here, we have several unfilled cells that may or may not be a part of the box, and several yellow cells that each represent a binary choice — exactly one of two candidate configurations must hold.
Connecting the faces
We leverage information that numbers with grey circles should be directly opposite another number with a grey circle, and numbers with gray squares should be orthogonally adjacent to another number with a gray square.
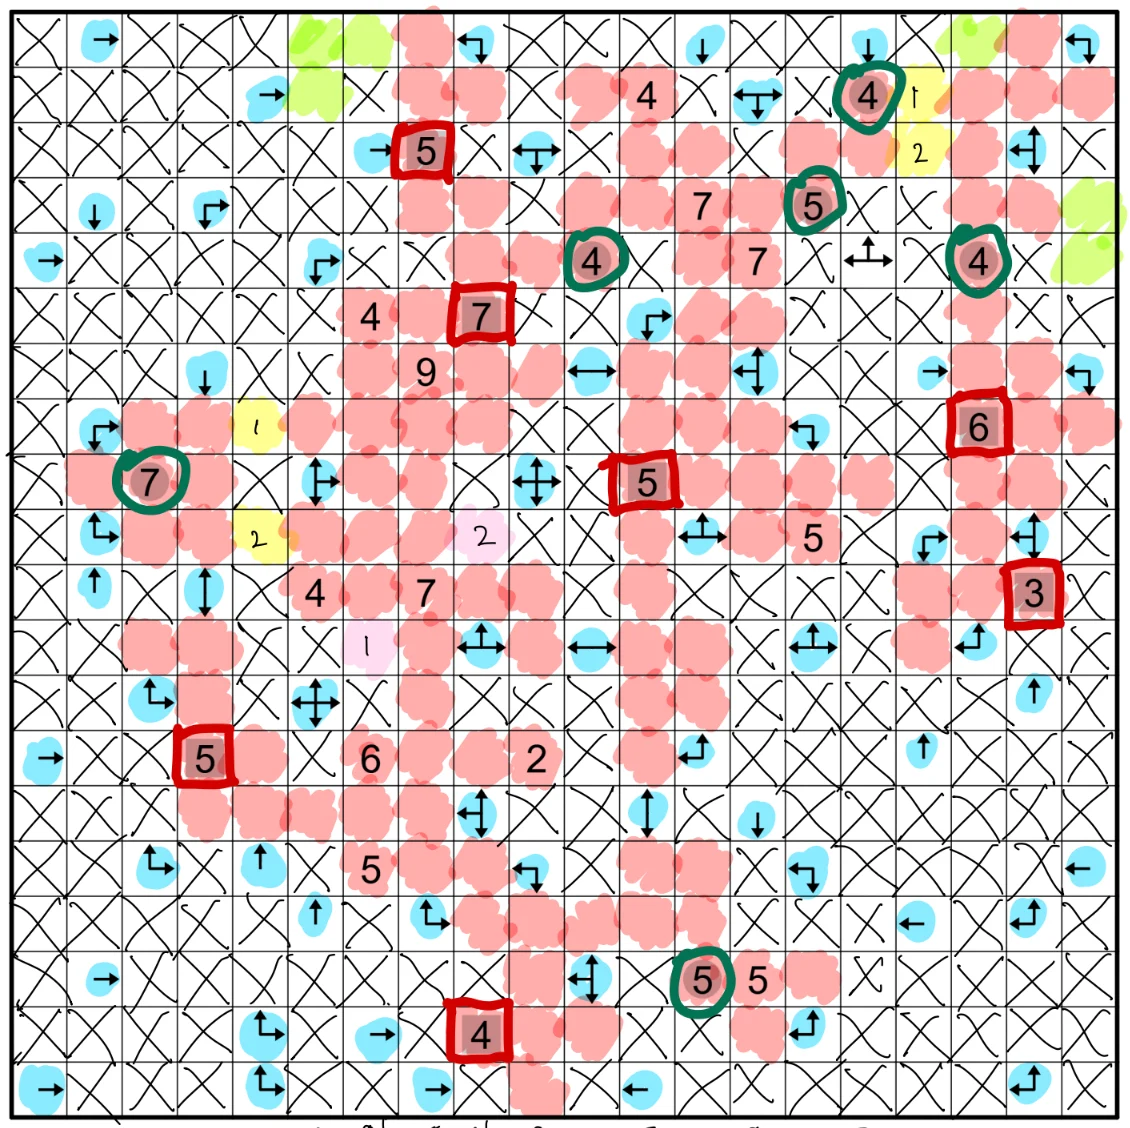
Additionally, we consider the number of folds between the grid areas, as well as the total surface area of the box in terms of cells. By considering the 3D structure of the puzzle, we narrow down the possibilities by different areas of the grid together via the given constraints and the geometric shapes.
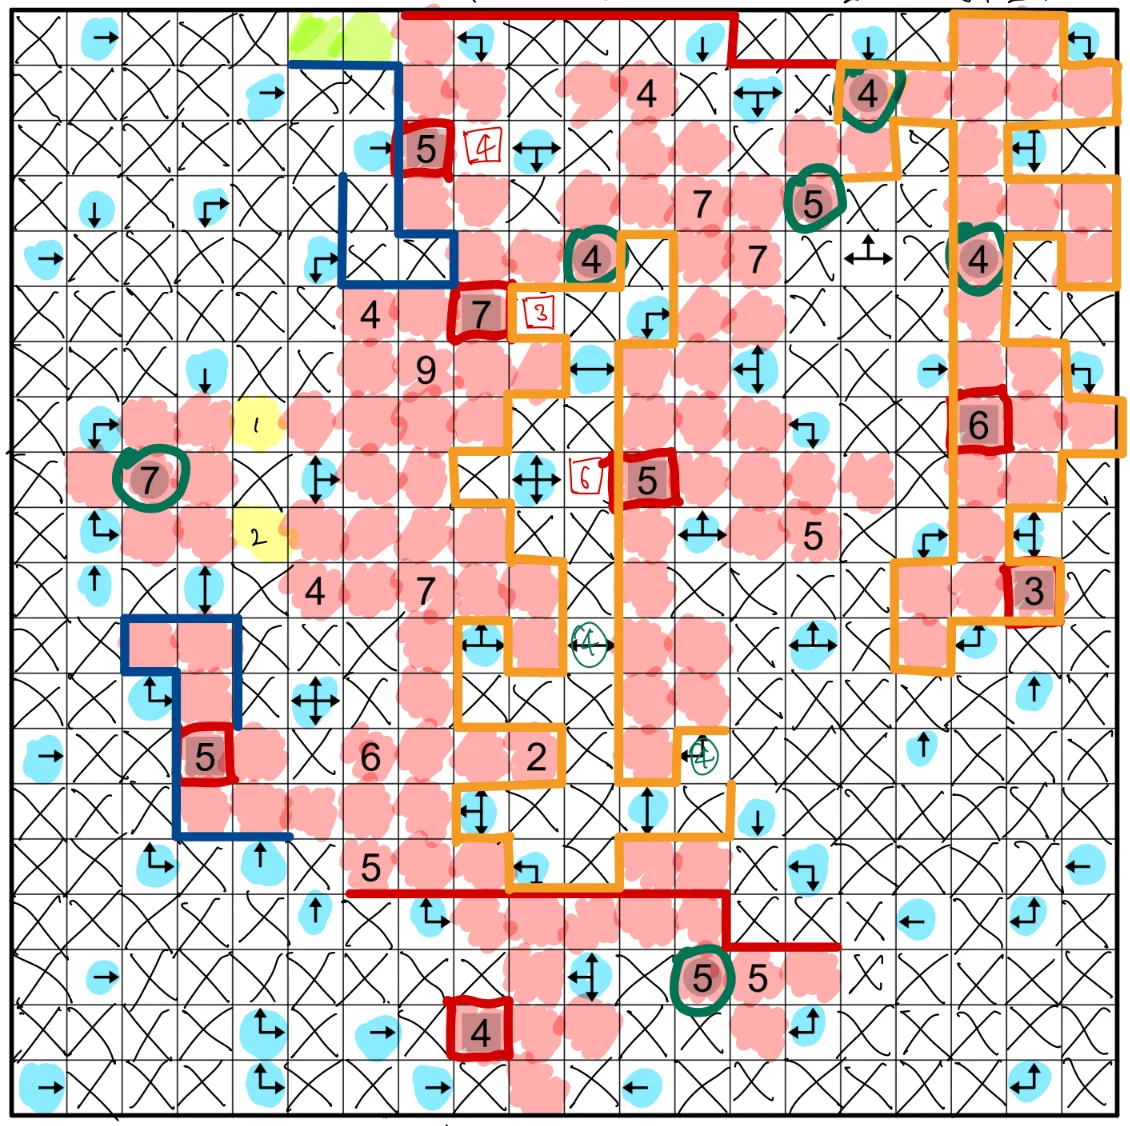
From there, we fill in uncertain cells based on the configuration of the 3D box as required, and end up with our final solution.
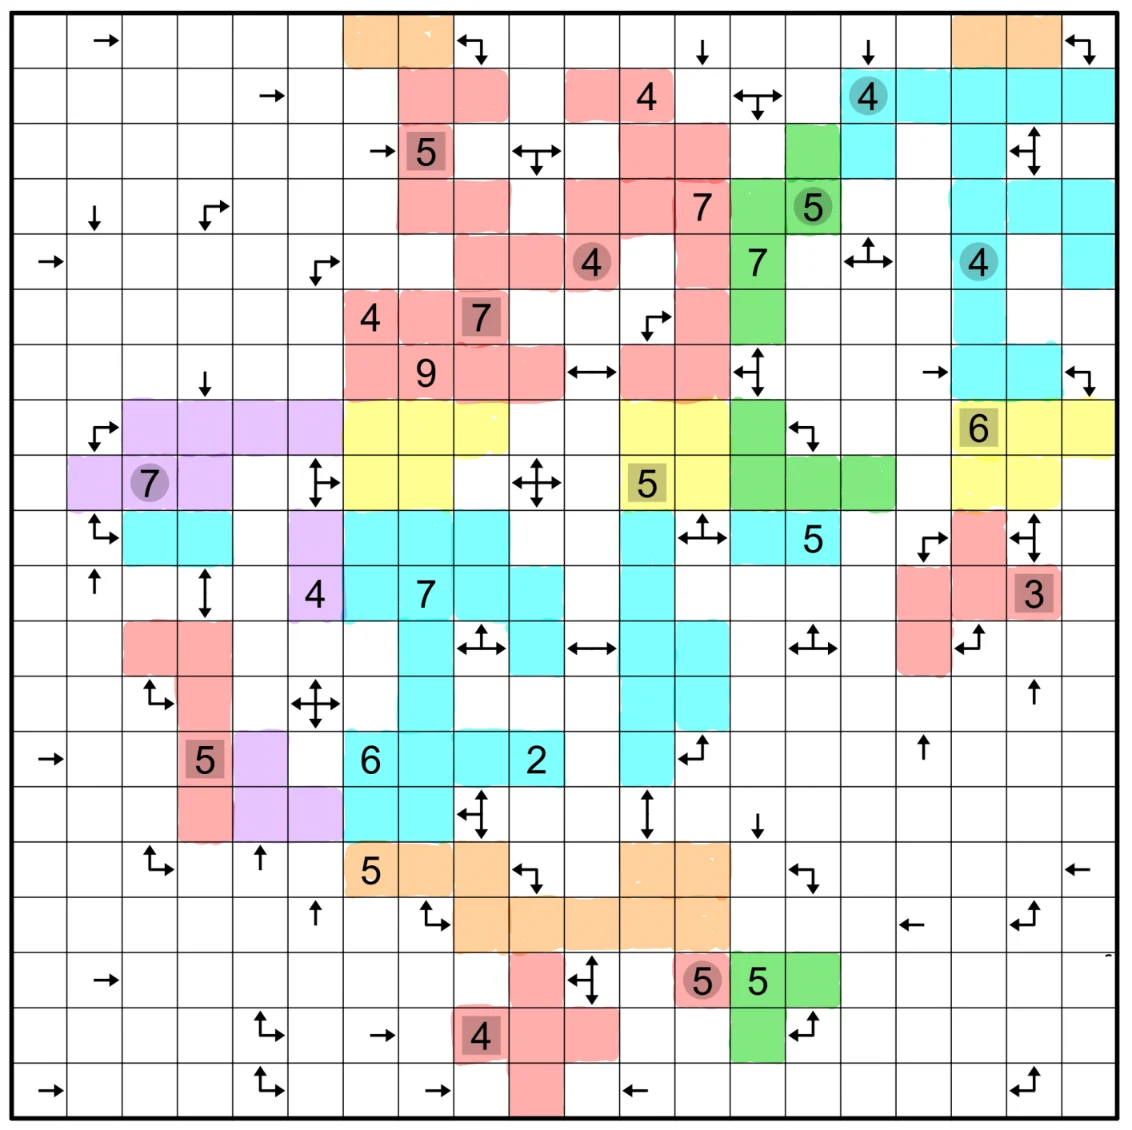
The finished box
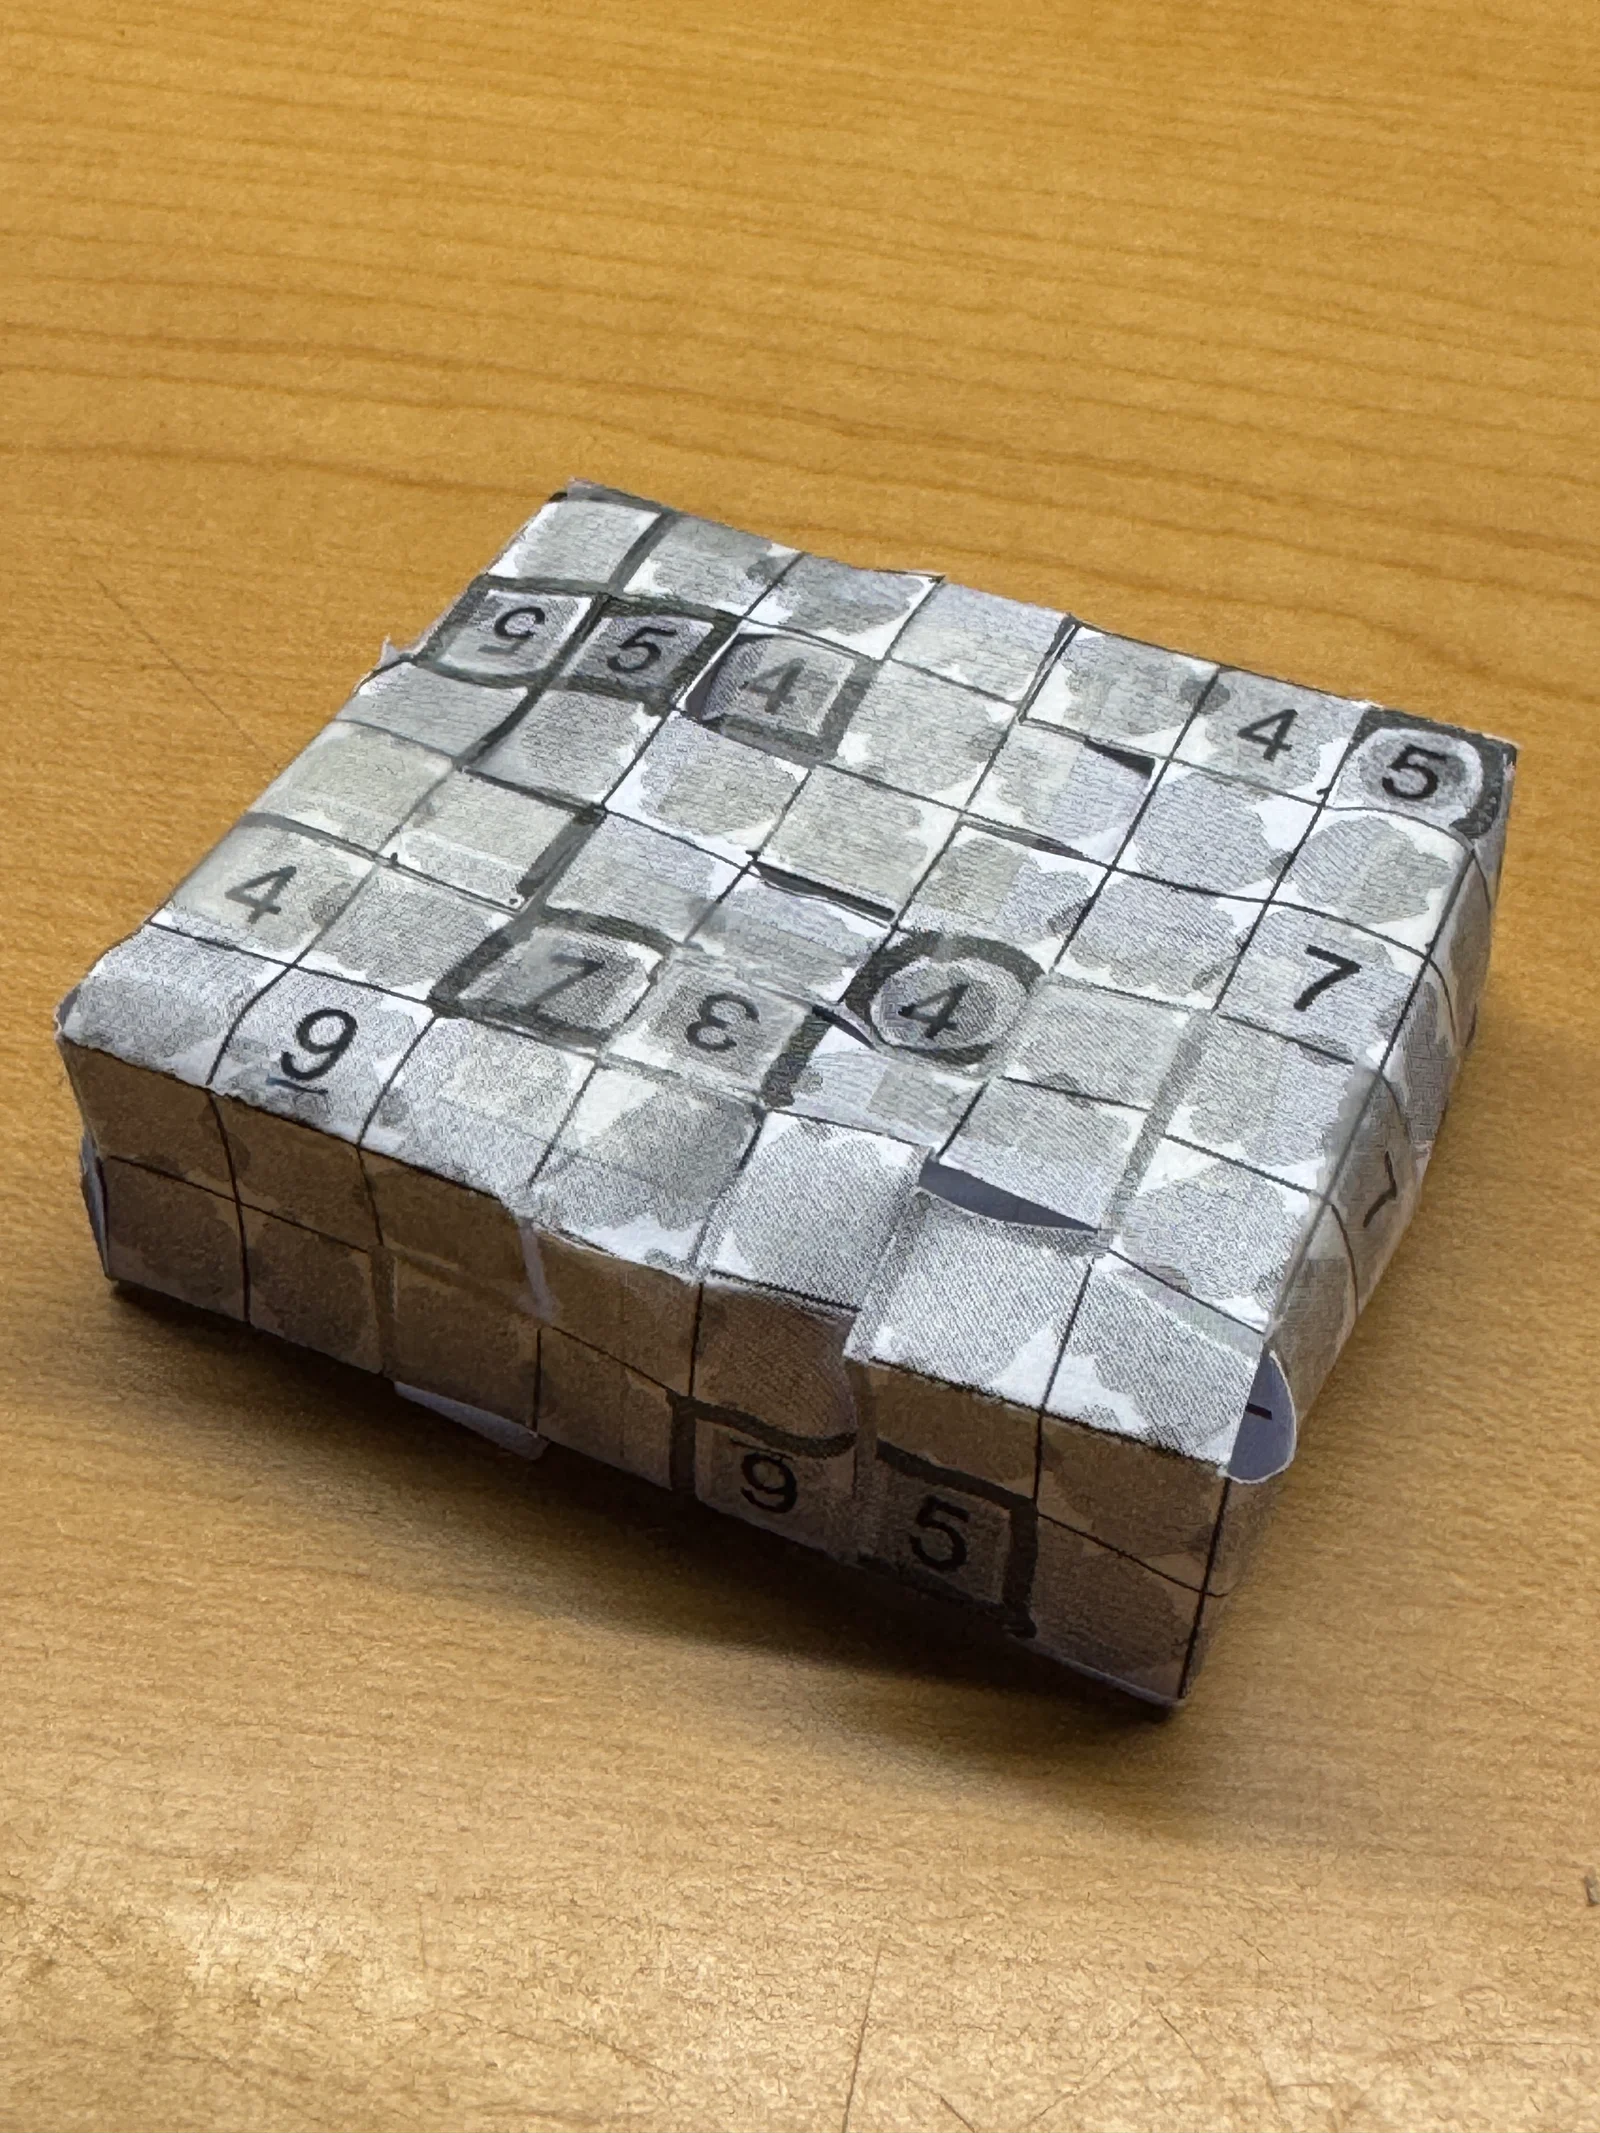
And of course we have to physically print and assemble the final solution.